This article will show you how to enter programs into the computer, execute them, see how they perform, and see how they display the results.
The first thing you must do is create a new Java project. The NetBeans IDE provides a wizard to help you do that. Start the NetBeans IDE, and from its main menu select “File → New Project…” as shown in Figure 1.
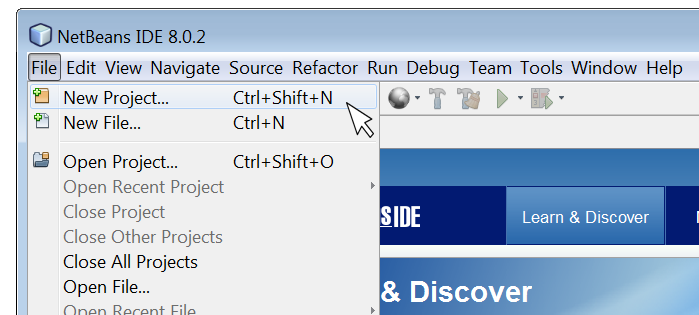
Figure 1 Starting a new Java project from NetBeans IDE
The “New Project” wizard will appear, and it will guide you through the steps that follow.
On the “New Project” screen of the wizard, under “Choose Project,” select “Java Application” as shown in Figure 2. Then, click on the “Next” button.
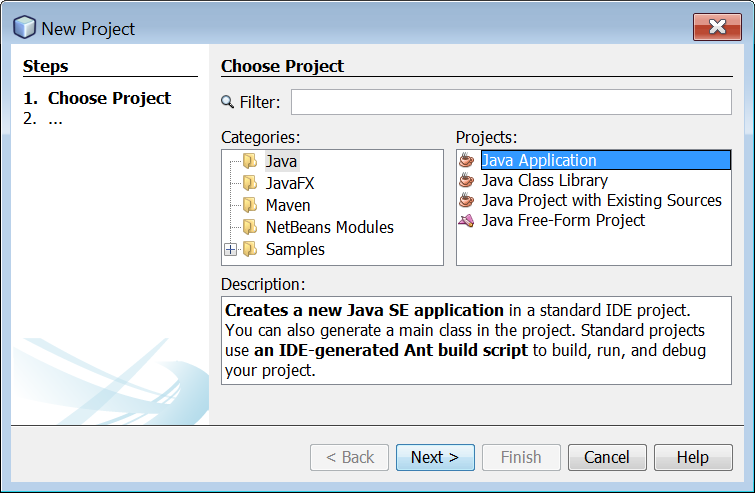
Figure 2 Selecting the Java Application under Projects
You will see the “New Java Application” screen of the wizard. Under “Name and Location” , in the “Project Name” field, type “testingProject” as shown in Figure 3. Leave all other fields unchanged. Then, click on the “Next” button.
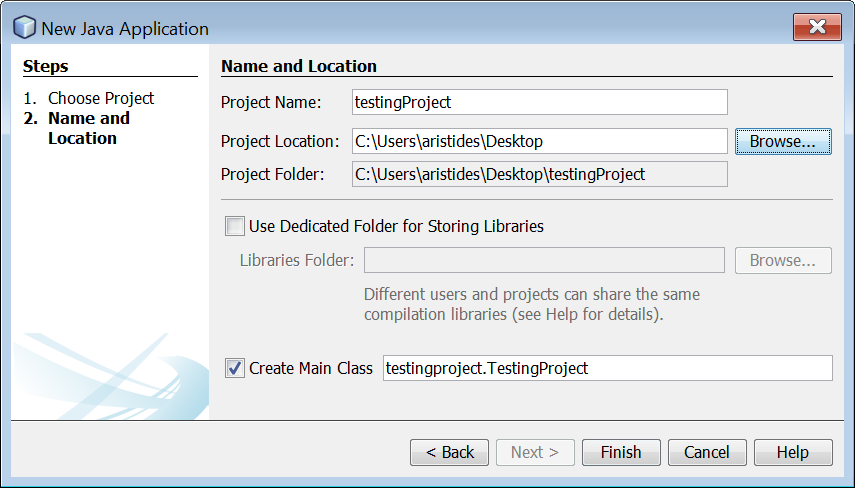
Figure 3 Selecting the name and location of a new Java project
Click on the “Finish” button. The project is created and opened in your NetBeans IDE. You should see the following components (see Figure 4):
- the Projects window, which contains a tree view of the components of the projects, including source files, libraries that your code may depend on, and so on
- the Source Editor window with a file called “TestingProject.java” open. In this file you can write your Java code. Of course, one single project can contain many such files.
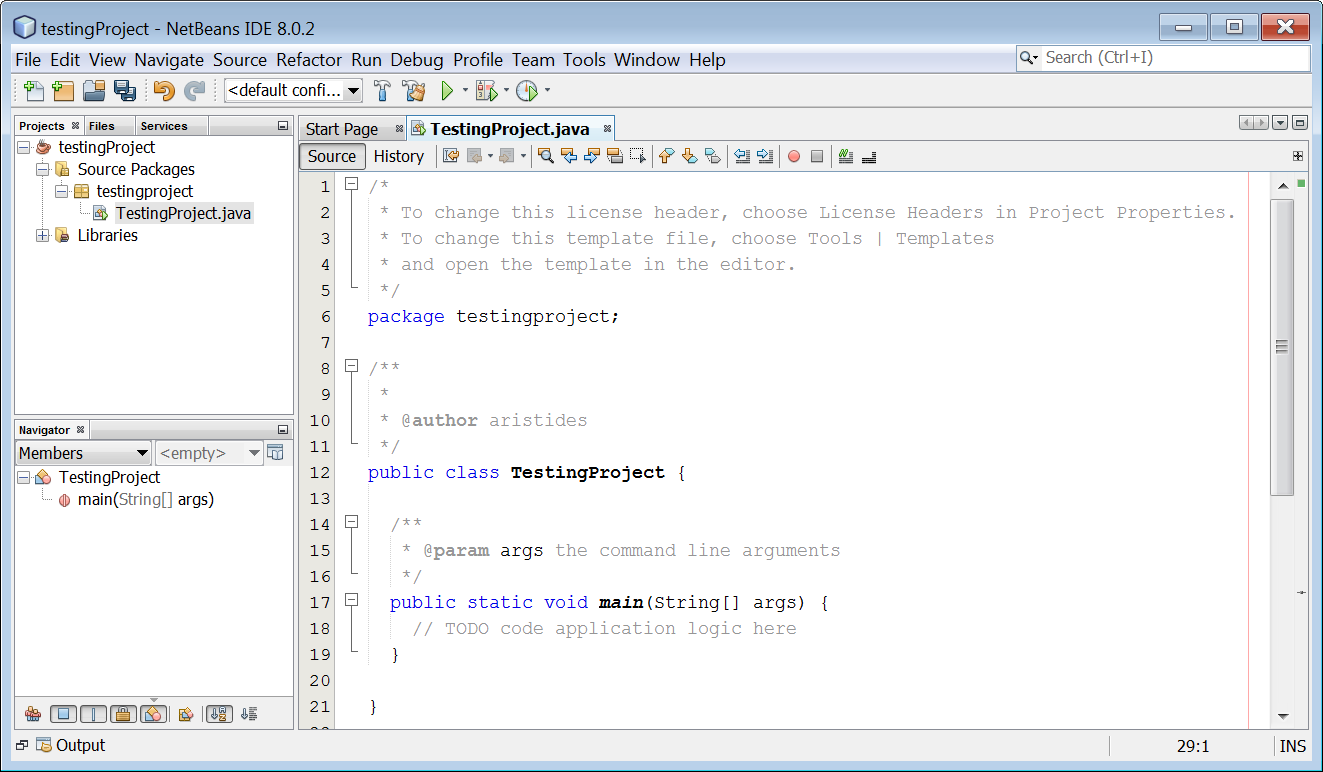
Figure 4 Viewing the “Projects” and “Source Editor” windows in NetBeans IDE