In order to install Visual Studio Code on Windows, you can download it free of charge from the following address:
https://visualstudio.microsoft.com/
When the download is complete, run the corresponding installer.
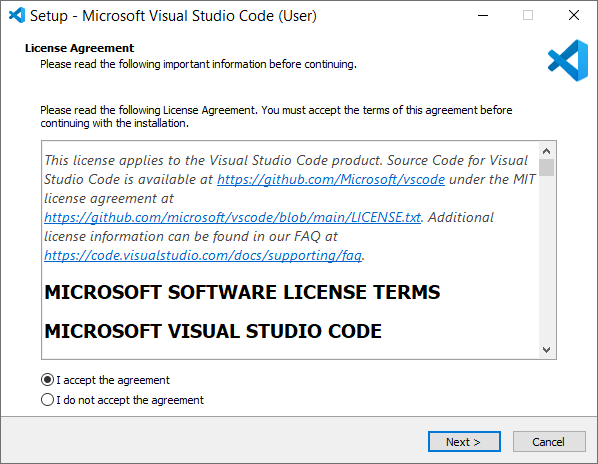
In the popup window that appears (Figure 1), you must accept the terms of the License Agreement and click on the “Next” button.
The Visual Studio Code installer (as shown in Figure 2) prompts you to select where Visual Studio Code should be installed. Keep the proposed folder and click on the “Next” button.
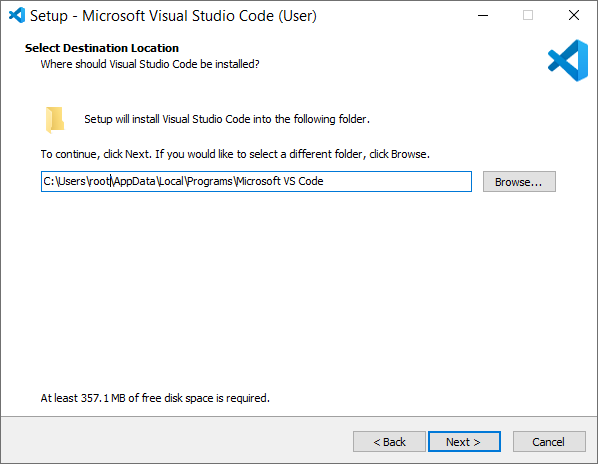
Notice: The installation folder (Destination Location) proposed on your computer may differ from that in Figure 2 depending on the versions of the Visual Studio Code or Windows that you have.
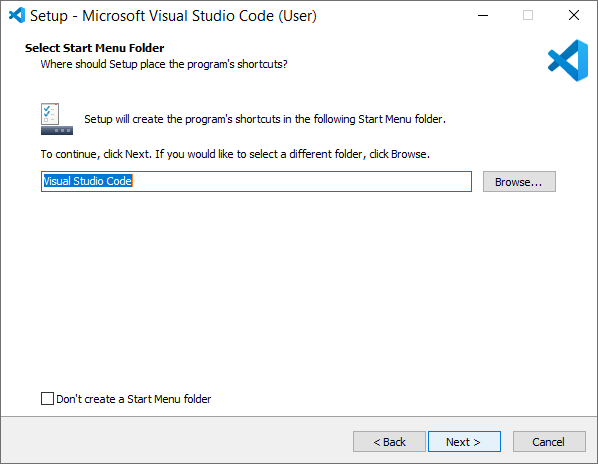
On the next screen (Figure 3), you can select where the installer should place the program’s shortcuts. Click on the “Next” button.
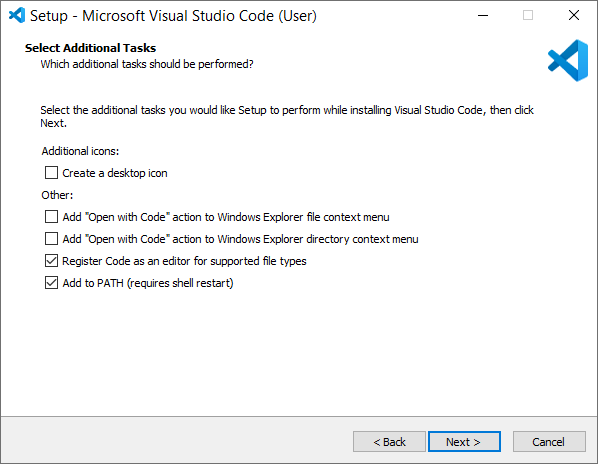
On the next screen, you can select the additional tasks you would like the installer to perform. Make sure that the “Add to PATH (requires shell restart)” option is checked (as shown in Figure 4) and click on the “Next” button.
On the next screen, click on the “Install” button and wait for the installation to complete.