To install Visual Studio Community, you can download it free of charge from the following address:
https://visualstudio.microsoft.com/
Download the edition called “Visual Studio Community”. When the download is complete, run the corresponding installer.
The Visual Studio installer informs you that it needs to set up a few things so that you can configure your installation. Click on the “Continue” button and wait for the process to complete.
Next, the installer (as shown in Figure 1) prompts you to select Workloads. Check the box for “.NET desktop development” if you want to write C#, Visual Basic and F# programs and/or “Desktop development with C++”, if you want to write C++ programs. Read the licenses for the editions you have selected.
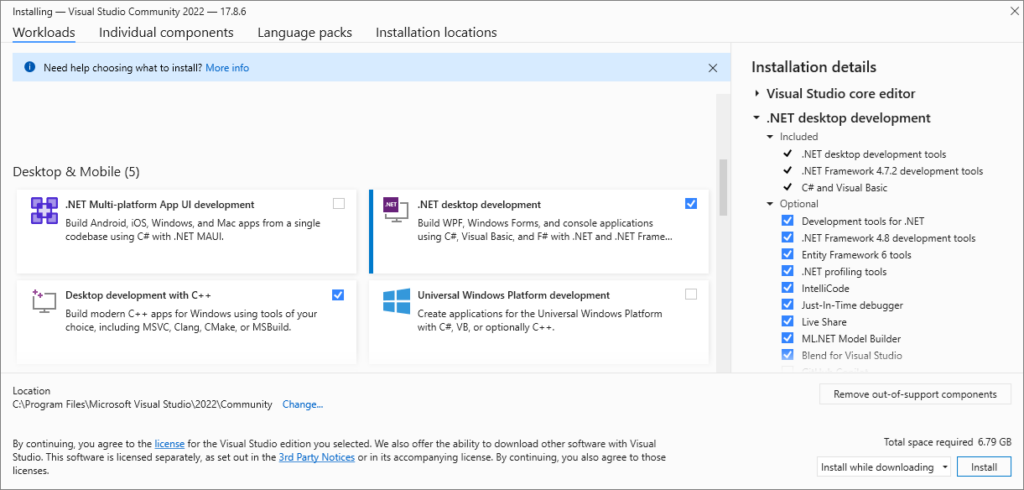
The installation folder (location) proposed on your computer may differ from that in Figure 1 depending on the versions of the Visual Studio or Windows that you have.
Next, click on the “Install” button in the bottom right-hand corner of the installation window.
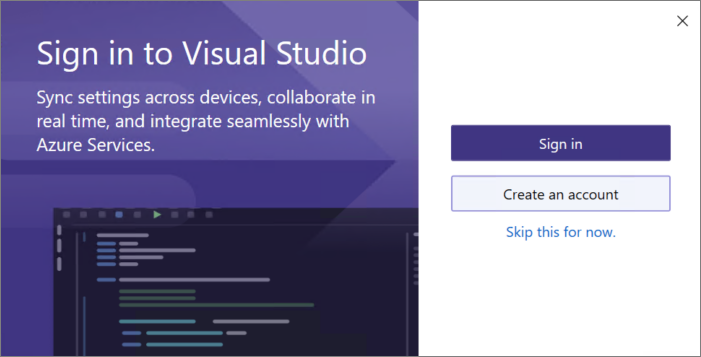
When the installation process is complete, you can launch Visual Studio. You will see a Welcome screen, as shown in Figure 2. You can sign in or you can just click on the “Skip this for now” link.
On the next screen, set the “Development Settings” to “General” and choose a color theme of your choice, as shown in Figure 3.
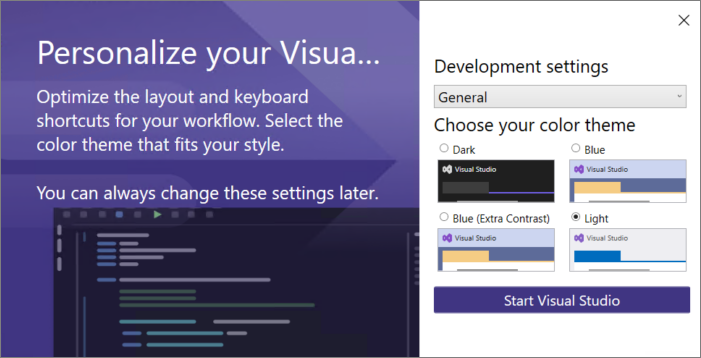
Click on the “Start Visual Studio” button in the bottom right-hand corner.
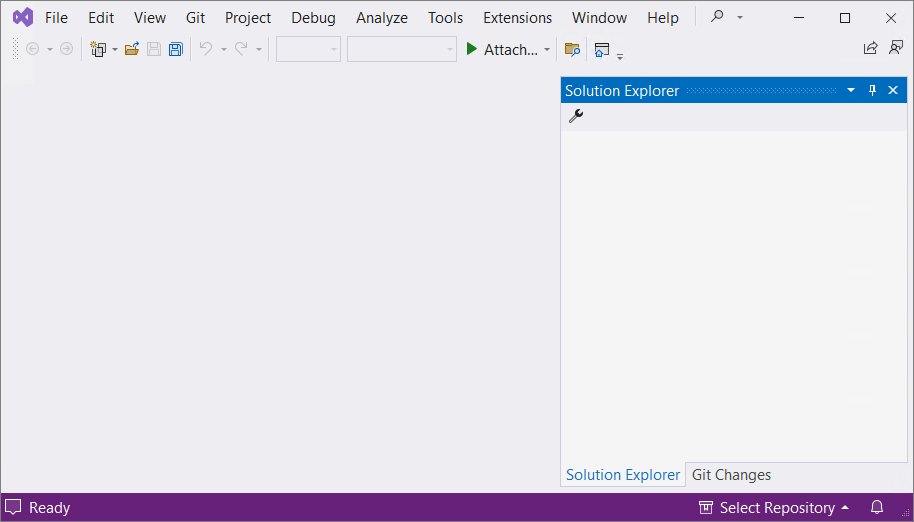
In the window that opens, click on “Continue without code”. The Visual Studio Community environment opens and should look like the one shown in Figure 4.