The first thing you must do is create a new Java project. You have already added a folder to the workspace (see here). It is probably named “VS Code Java Projects”. Click on the “Explorer” ![]() button in the Activity Bar on the left and select the folder “VS Code Java Projects”.
button in the Activity Bar on the left and select the folder “VS Code Java Projects”.
Hit the CTRL + SHIFT + P key combination to open the Command Palette, and run the “Java: Create Java Project…” command, as shown in Figure 1.

Alternatively, you can click on the “Explorer” ![]() button in the Activity Bar on the left, right click in the empty area of the folder “VS Code Java Project…” and select “New Java Project” as shown in Figure 2.
button in the Activity Bar on the left, right click in the empty area of the folder “VS Code Java Project…” and select “New Java Project” as shown in Figure 2.
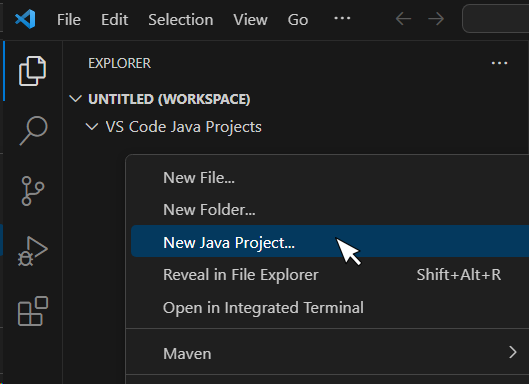
Figure 2 Creating a new Java project using mouse
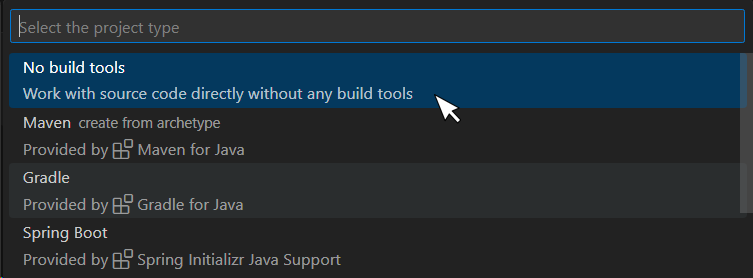
From the drop down list that opens, select “No build tools” and then choose the folder “VS Code JavaProjects” where your project will be created.
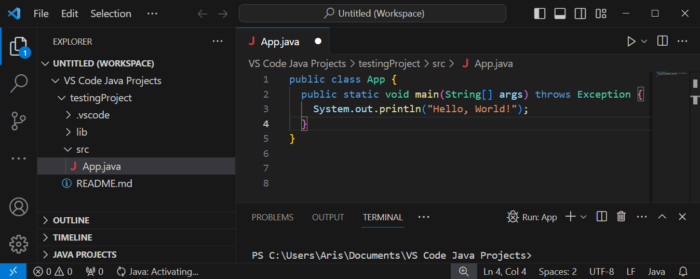
And finally, Visual Studio Code asks you for the name of the new project. Type “testingProject” as shown in Figure 4.

Select the “App.java” file. Your Visual Studio Code environment should look like the one in Figure 5.
Since you are going to create many projects within the “VS Code Java Projects” workspace, it is recommended to rename the “App.java” file. Right-click on the file, select “Rename” and enter a name of your choice, ensuring that the first letter is capitalized.
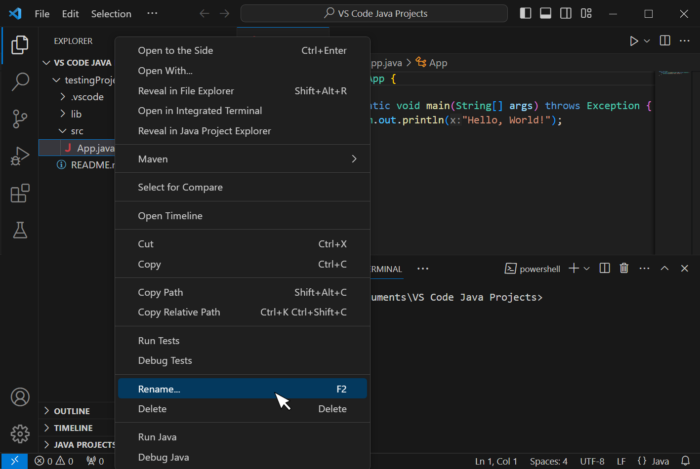
A popup window asks for your permission to make refactoring changes with this file move.
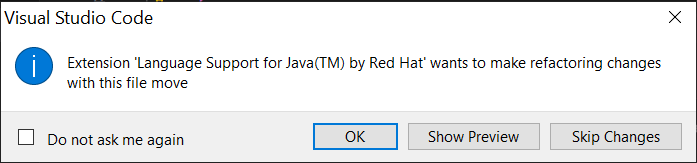
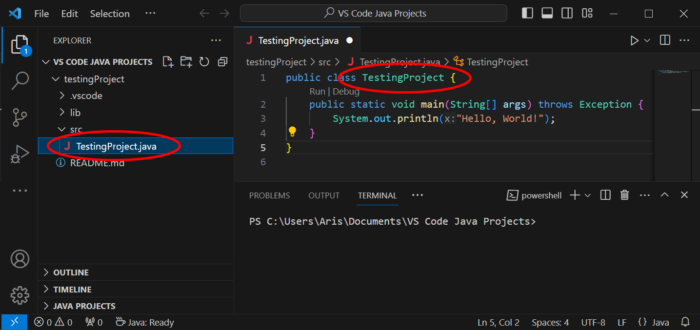
Click “OK”. You will notice that, apart from the filename, the name of the class is also renamed, as shown in Figure 7.
You have just seen how to create a new Java project. Let’s now write the following (terrifying, and quite horrifying!) Java program and try to execute it.
public class TestingProject {
  public static void main(String[] args) throws Exception {
    System.out.println("Hello, World!");
    System.out.println("Hallo, Welt!");
    System.out.println("Bonjour, le Monde!");
  }
}
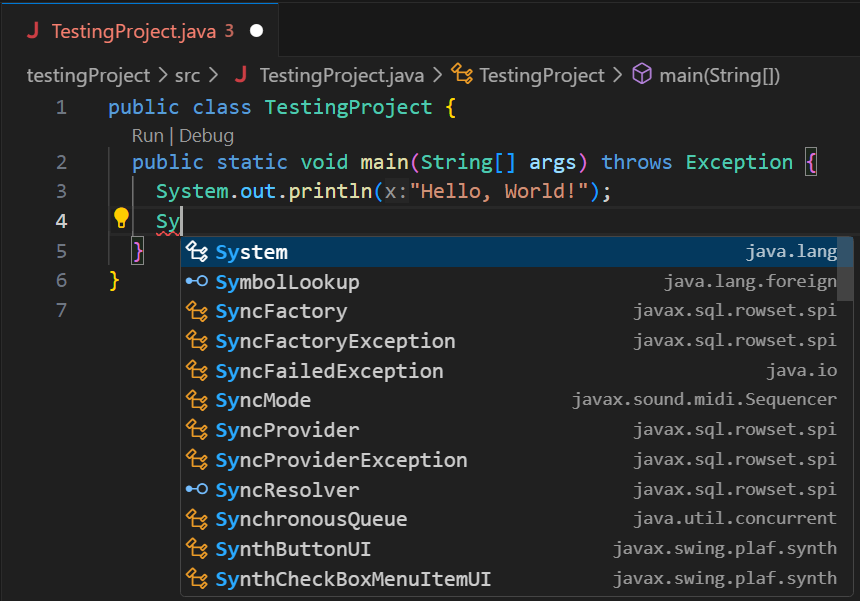
The statement that displays the English message “Hello, World!” has been already entered for you automatically. Place your text cursor at the end of that line and hit the “Enter ⤶” key. Let’s try to type the second statement, the one that displays the German message “Hallo, Welt!”. Type only the first character, “S”, from the System keyword by hitting the “S” key on your keyboard. A popup window appears, as shown in Figure 8. This window contains all available Java statements, and other items that begin with the character “S”.
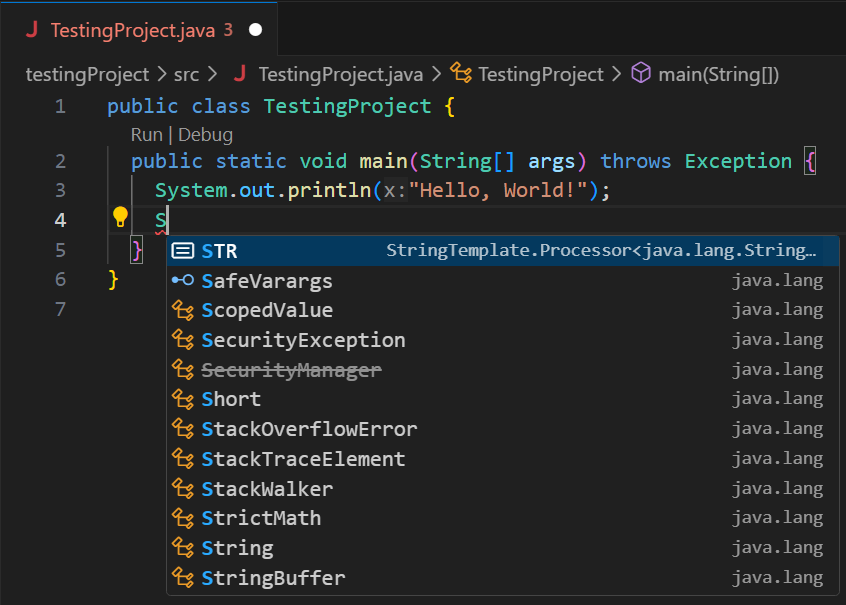
Notice: You can highlight a selection by using the up and down arrow keys on your keyboard.
Type the second character, “y”, from the System keyword. Now the options have become fewer. Select the option “System” using the down arrow key from your keyboard (if necessary), as shown in Figure 9.
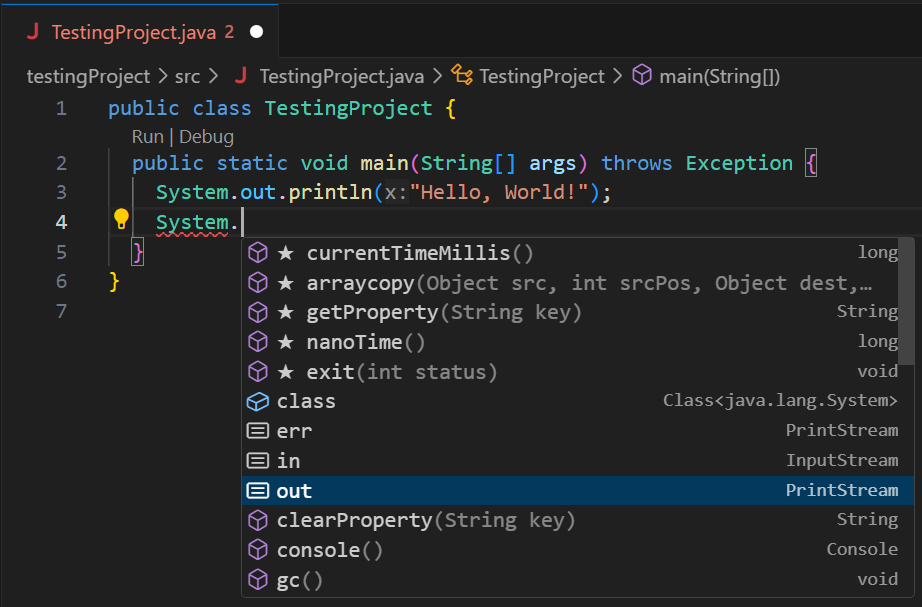
Hit the “Enter ⤶” key. The keyword System is automatically entered into your program. Hit the period “ . ” key and select the “out” option as shown in Figure 10 and hit the “Enter ⤶” key.
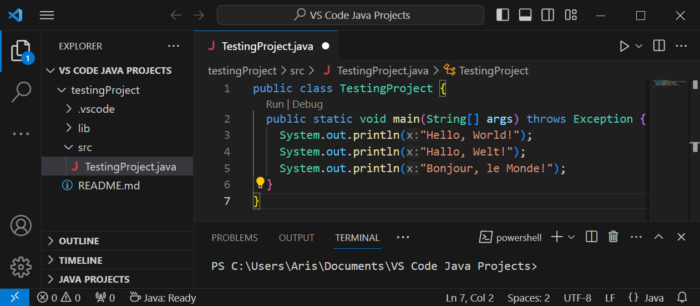
Complete the statement by writing System.out.println("Hallo, Welt!"); Then, continue typing the rest of the Java program (as shown in Figure 11). Save the changes that you have just made. Your Visual Studio Code environment should look like this.
And now, let’s try to execute it! From the main menu, select “Run → Run Without Debugging”.
Notice: In Windows OS, if a security alert window popups, click on the “Allow access” button
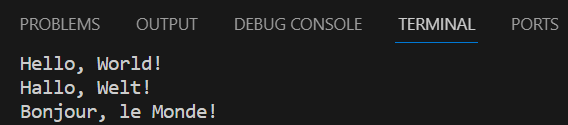
The Java program executes, and the output is displayed in the “Terminal” window, as shown in Figure 12.
Notice: Alternatively, you can execute a file by hitting the CTRL + F5 key combination.
Congratulations! You have just written and executed your first Java program!
Notice: You should always save your changes before executing a program. To do so, from Visual Studio’s main menu you can select “File → Save” or hit the “CTRL + S” key combination!
Now let’s write another Java program, one that prompts the user to enter their name. Type the following Java program into Visual Studio Code and hit CTRL + F5 to execute the file.
import java.util.Scanner;

public class TestingProject {
  static Scanner cin = new Scanner(System.in);

  public static void main(String[] args) throws Exception {
    String name;

    System.out.print("Enter your name: ");
    name = cin.nextLine();
    System.out.println("Hello " + name);
  }
}
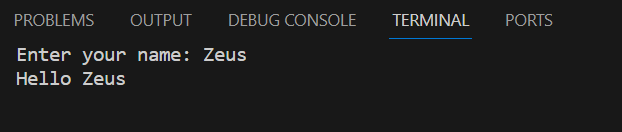
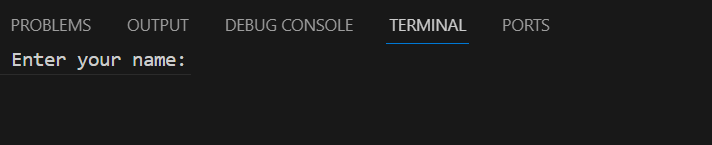
Once you execute the program, the message “Enter your name:” is displayed in the “Terminal” window. The program waits for you to enter your name, as shown in Figure 13.
Type your name and hit the “Enter ⤶” key. Once you do that, your computer continues to execute the rest of the statements. When execution is complete, the final output is as shown in Figure 14.